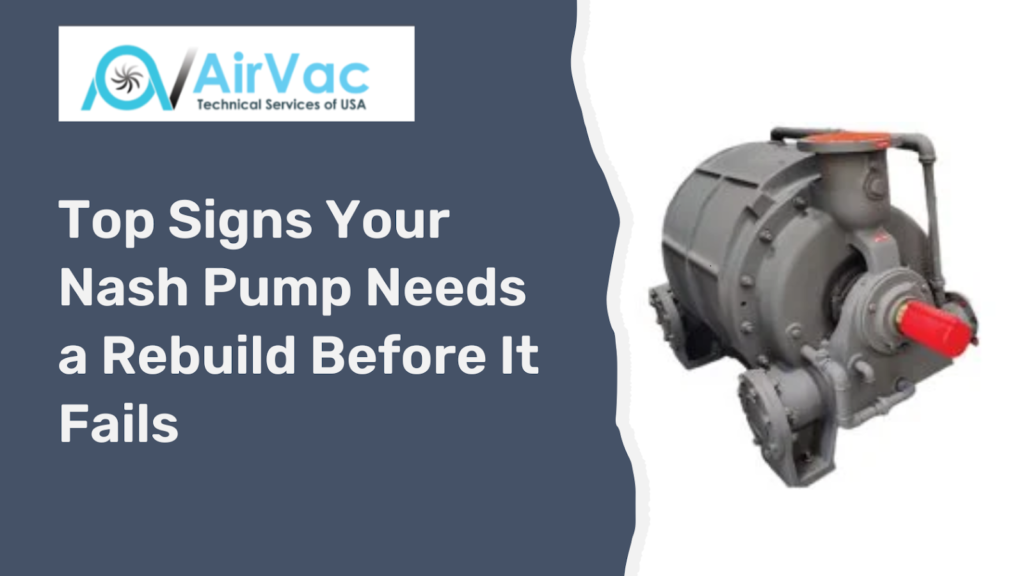
A Nash liquid ring vacuum pump is one of the most reliable pieces of industrial equipment you can own. But like any rotating machine, it wears down over time. Bearings fail, seal faces erode, and internal clearances open up. When that happens, your process suffers, and downtime costs add up fast.
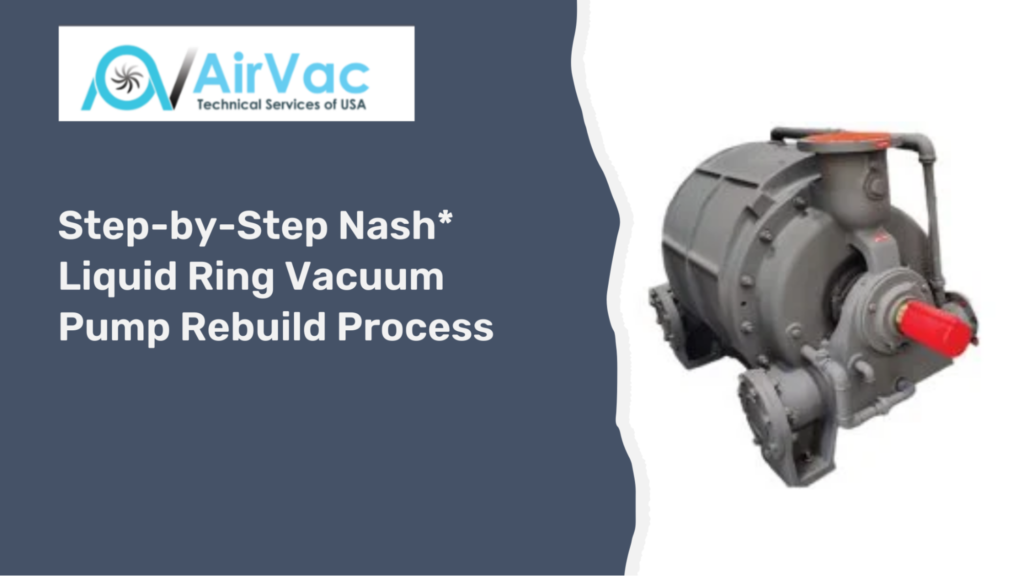
Rebuilding a Nash vacuum pump yourself, or supervising the process, can save your facility 40% to 60% compared to buying a new unit. More importantly, a proper rebuild restores the pump to its original factory performance specs. This guide walks you through every stage of the Nash liquid ring vacuum pump rebuild process, from initial assessment to final commissioning. Whether you are a maintenance engineer, a reliability technician, or a plant manager, this resource gives you the practical knowledge you need to get the job done right.
What Is a Nash* Liquid Ring Vacuum Pump?
A Nash liquid ring vacuum pump is a rotary displacement machine that uses a rotating liquid ring to compress gas and create a vacuum. The pump draws gas through an inlet port, traps it between impeller blades, compresses it, and discharges it through an outlet port.
The liquid, usually water, forms a rotating ring inside the casing due to centrifugal force. This ring acts as both a sealant and a compressant. Nash, a brand under SIHI Group and now part of Flowserve Corporation, has been manufacturing these pumps since the early 1900s. They are widely used in the paper, chemical, food processing, pharmaceutical, and power generation industries.
The main components of a Nash liquid ring vacuum pump include:
- The casing or body
- The impeller (rotor)
- The shaft and shaft seal assembly
- Bearings (drive end and non-drive end)
- Port plates (cone or flat type)
- Sealant water circuit components
When Does a Nash* Liquid Ring Pump Need a Rebuild?
Most Nash liquid ring pumps are designed for continuous duty and can run for 20,000 to 50,000 hours before requiring a major overhaul. However, operating conditions vary widely. Here are the most common signs that a rebuild is overdue:
Performance Signs:
- Vacuum level has dropped by 10% or more from baseline
- Flow capacity has decreased noticeably
- Pump takes longer to pull the system down to operating vacuum
- Discharge temperature is higher than normal
Mechanical Signs:
- Unusual vibration or noise during operation
- Bearing temperature above 80 degrees C (176 degrees F) under normal load
- Visible shaft seal leakage
- Corrosion, erosion, or pitting on the casing or impeller
Seal-Related Signs:
- Increased sealant water consumption
- Air ingestion through the shaft seal area
- Mechanical seal face damage
A simple performance test before teardown helps you document baseline conditions and compare against post-rebuild results. Record vacuum level, amperage draw, sealant flow rate, and discharge temperature.
Tools and Safety Equipment You Need
Before starting the Nash liquid ring vacuum pump rebuild, gather the necessary tools and safety gear. Skipping this step wastes time and risks injury.
Tools Required
| Tool | Purpose |
| Bearing puller (hydraulic or mechanical) | Remove bearings without damage |
| Dial indicator and magnetic base | Measure shaft runout and alignment |
| Torque wrench (0-200 Nm range) | Tighten fasteners to specification |
| Feeler gauges | Check internal clearances |
| Micrometer and vernier calipers | Measure wear on components |
| Gear puller or coupling puller | Remove couplings from shaft |
| Soft-faced mallet | Disassemble without damaging surfaces |
| Lapping plate and compounds | Lap mechanical seal faces |
Safety Equipment
- Safety glasses and a face shield
- Chemical-resistant gloves
- Steel-toed boots
- Lockout/tagout (LOTO) kit
- Confined space equipment (if applicable)
Always follow OSHA lockout/tagout procedures before beginning any disassembly. The U.S. Occupational Safety and Health Administration (OSHA) requires LOTO compliance for all energy-isolating work.
Step 1: Pre-Teardown Preparation and Documentation
Good documentation is the backbone of a successful rebuild. Before you touch a single bolt, take photographs from multiple angles. Note the orientation of the inlet and outlet. Mark the drive end and non-drive end clearly with a paint marker or a metal stamp. Record the pump model number, serial number, and year of manufacture from the nameplate. These details help you find the correct Nash pump rebuild kit and OEM drawings.
Drain the sealant water completely. Flush the internal passages with clean water if the pump was handling chemical-laden fluids. This protects your team from exposure to hazardous residues.
Check the coupling alignment records if they are available. Misalignment is a leading cause of premature bearing and seal failure in Nash pumps. Fixing misalignment during the rebuild prevents the same problem from happening again after reassembly.
Step 2: Disassembly of the Nash* Liquid Ring Vacuum Pump
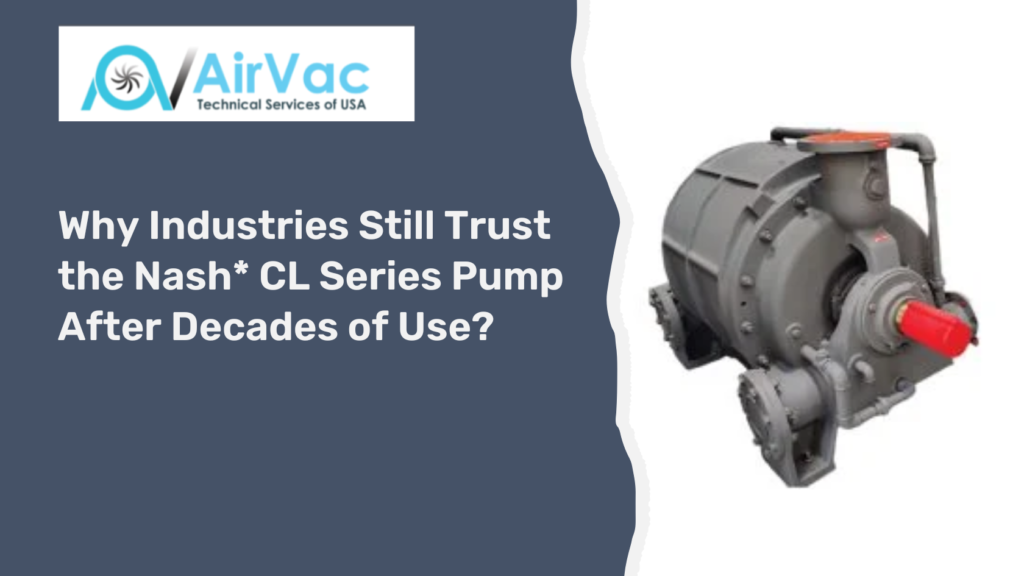
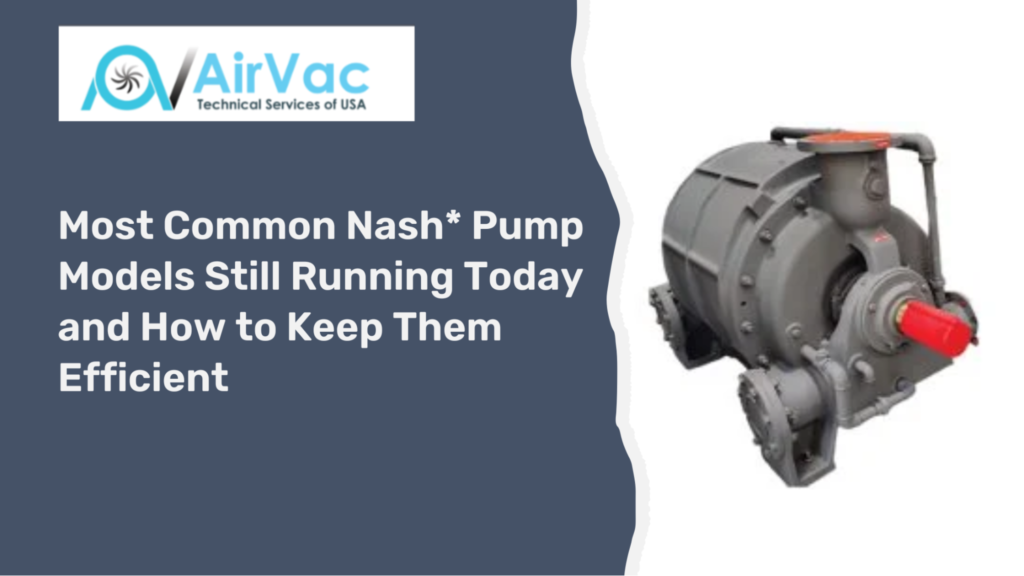
Work methodically. Disassemble in reverse order of how the pump was originally assembled. Follow the Nash service manual for your specific model. Common Nash models include the CL, 2BE, and SC series, and each has a slightly different disassembly sequence.
Disassembly Steps
- Remove the coupling guard and disconnect the coupling halves from the shaft. Store coupling hardware in labeled bags.
- Loosen and remove the bearing housing bolts. Slide the bearing housings away from the casing. Note the position of any shims under the housings.
- Remove the mechanical seal or packing gland assembly. For mechanical seals, note the spring compression direction and the face orientation.
- Remove the casing end covers or port plates. On cone-port Nash designs, the cone itself is a precision component. Handle it carefully to avoid surface damage.
- Slide the impeller assembly out of the casing. The impeller may be a tight fit due to corrosion or scale buildup. Use a bearing puller or a purpose-made impeller puller tool. Never use heat unless absolutely necessary, and only on the impeller hub in extreme cases.
- Remove the bearings from the shaft using a proper bearing puller. Never drive bearings off with a hammer against the outer race, as this damages the shaft and the bearing housing bore.
- Lay all components on a clean work surface. Group parts by assembly area: shaft end, drive end, casing, impeller.
Step 3: Cleaning and Inspection of Components
Cleaning reveals the true condition of each part. Use a combination of wire brushing, solvent cleaning, and ultrasonic cleaning for complex internal passages.
Casing:
Look for pitting, erosion, and cracks. Pay special attention to the areas around the inlet and discharge ports, where cavitation erosion is common. Minor pitting can be repaired with approved epoxy-based repair compounds. Deep cracks or wall-thickness loss exceeding 20% of the original thickness typically indicate the casing needs replacement.
Impeller:
Check blade thickness. Impeller blades erode over time, reducing pump capacity. Measure blade tip-to-casing clearance. Most Nash pumps specify a clearance of 0.25-0.75mm, depending on the model. Check the hub bore for wear and the keyway for damage.
Shaft:
Measure shaft runout with a dial indicator. Total runout should not exceed 0.05mm on the bearing and seal journals. A worn journal can be built up by welding or metal spray and ground back to size.
Bearings:
Always replace bearings during a full rebuild. Even if a bearing looks acceptable visually, it has been in use for hours. Installing used bearings in a rebuilt pump defeats the purpose of the overhaul.
Mechanical Seal:
Replace all elastomers, O-rings, and face components. Re-use of mechanical seal faces is acceptable only if they show no thermal cracking, pitting, or wear step, and only after lapping to a flat finish below 0.0008mm using optical flat testing.
Port Plates (Cone or Flat):
Check for erosion, scoring, and flatness. The port plate controls the pump’s inlet and discharge timing. Damage here directly reduces vacuum performance.
Step 4: Parts Replacement and Nash* Pump Rebuild Kit Selection
A proper Nash liquid ring pump rebuild kit typically includes all gaskets and O-rings for the casing, end covers, and bearing housings, shaft seal components, a bearing set (drive end and non-drive end), and any wear rings or bushings specific to the model.
When ordering a rebuild kit, use the pump model number and serial number to ensure parts compatibility. Nash OEM parts are available through authorized distributors or directly through Flowserve. Third-party aftermarket kits are available at a lower cost but may not match OEM tolerances.
A useful rule of thumb: if the pump is more than 15 years old, budget for casing and impeller replacement in addition to the standard rebuild kit. Age-related metal fatigue and cumulative corrosion often make these parts borderline, even when they appear serviceable.
Step 5: Reassembly of the Nash* Liquid Ring Vacuum Pump
Reassembly is the mirror image of disassembly, but it requires more precision. Clean all mating surfaces. Apply fresh gasket material or RTV sealant only where specified. Never use sealant on O-ring faces or mechanical seal interfaces.
Reassembly Sequence
- Install the shaft seal first. Press the stationary seat into the seal housing squarely. Do not cock the seat during installation. Use a clean sleeve that matches the seat OD to press it in evenly.
- Install the impeller onto the shaft. Apply a light coat of anti-seize compound on the keyway and hub bore. Torque the impeller nut to the specified value.
- Install the port plates or cone assembly. Check the port timing marks if your model uses them.
- Reinstall the casing end covers. Torque bolts in a cross pattern to avoid casing distortion. Use a calibrated torque wrench.
- Install fresh bearings. Heat bearings in a bearing heater to 80-100 °C for interference-fit installation. Never use an open flame. Allow bearings to cool and seat fully before checking end float.
- Set shaft axial end float. An end float too tight causes bearing and thrust face wear. Too loose allows the impeller to knock against the port plates. Consult the Nash service manual for the specified end float range for your model.
Step 6: Internal Clearance Checks
Before closing the pump, verify the following clearances:
| Clearance Point | Typical Specification |
| Impeller blade tip to casing | 0.25mm to 0.75mm |
| Impeller face to port plate | 0.10mm to 0.40mm |
| Shaft runout at seal journal | Less than 0.05mm TIR |
| Bearing end float | 0.05mm to 0.15mm |
These values are general guidelines. Always defer to the Nash service bulletin for your specific model number.
Step 7: Coupling and Alignment
Reinstall the coupling halves onto the pump shaft and motor shaft. Use a laser alignment tool or dial indicator alignment method to align the pump and motor.
Misalignment is one of the top three causes of premature Nash pump failure, alongside contaminated sealant, water, and air ingestion. Aim for less than 0.05mm angular misalignment and less than 0.05mm parallel offset at the coupling faces. This level of alignment significantly extends bearing and seal life.
Step 8: Commissioning and Performance Verification
Before starting the rebuilt Nash pump, check all bolts and fasteners one final time. Connect the sealant water supply and confirm the flow rate matches the Nash specification for your model. Fill the casing with sealant water through the priming port.
Start-Up Sequence
- Jog the motor briefly (half-second bump) to confirm rotation direction matches the arrow on the pump casing.
- Start the pump and allow it to reach operating speed.
- Monitor bearing temperatures for the first 30 minutes. Temperatures should stabilize below 80 °C (176 °F).
- Check the shaft seal for leakage. A mechanical seal should show zero leakage after the first 30 minutes of run-in.
- Measure the vacuum level and compare against the pre-rebuild baseline and the Nash performance curve for your model.
- Record amperage draw and compare against motor nameplate and original baseline data.
A successful rebuild should restore vacuum performance to within 5% of the original factory specification.
Common Mistakes to Avoid During a Nash* Pump Rebuild
Not documenting before teardown.
Photographs and measurements taken before disassembly are invaluable during reassembly. Make this a non-negotiable step.
Reusing bearings without inspection records.
If you do not know the exact hours on a bearing, replace it. Bearing replacement is cheap compared to another teardown caused by bearing failure at 6 months post-rebuild.
Incorrect mechanical seal installation.
Installing a mechanical seal crooked or at the wrong spring compression is the leading cause of early seal failure after a rebuild. Take your time with this step.
Ignoring the root cause.
If your Nash pump failed due to cavitation, scale buildup in sealant water lines, or misalignment, fixing the pump without fixing the root cause guarantees an early return to the shop.
Skipping performance testing after rebuild.
You cannot confirm success without data. Always run a post-rebuild performance test and record the results.
Nash* Liquid Ring Pump Rebuild Cost Guide
Rebuild costs vary widely depending on pump size, condition, and parts required. Here is a general cost range for reference:
| Rebuild Scope | Estimated Cost Range |
| Minor rebuild (seals and bearings only) | $800 to $2,500 |
| Standard rebuild (full kit plus impeller) | $2,500 to $8,000 |
| Major rebuild (casing replacement included) | $8,000 to $25,000 |
| New replacement pump (equivalent size) | $15,000 to $60,000+ |
FAQ: Nash* Liquid Ring Vacuum Pump Rebuild
How long does a Nash* liquid ring vacuum pump rebuild take?
A standard rebuild on a medium-sized Nash pump, such as a CL-1002 or CL-1503, takes a skilled technician 1 to 3 days. Larger pumps or those requiring casing repair or shaft restoration can take five to seven days, including drying and cure time for repair compounds.
Can I rebuild a Nash* vacuum pump without the original service manual?
It is strongly recommended to have the Nash service manual for your specific model. Flowserve and authorized Nash service centers can provide service data sheets. Many dimensions, torque values, and clearance specs are model-specific. Working without this data increases the risk of incorrect assembly.
How often should a Nash* liquid ring pump be rebuilt?
Most Nash pumps in clean water service can run 5 to 10 years between major rebuilds. Pumps handling aggressive chemicals, high solids content, or operating near their cavitation threshold may require overhaul every 2 to 3 years. A condition-based monitoring program with vibration analysis and regular vacuum performance testing gives you the best data for scheduling.
What is the most common failure mode for Nash* liquid ring vacuum pumps?
Bearing failure due to misalignment or contaminated lubricant is the most common mechanical failure mode. Seal failure is the second most common. Impeller erosion due to cavitation is the most common performance-related failure, especially in pumps operating beyond their recommended operating range.
Should I use OEM Nash* parts or aftermarket parts for the rebuild?
OEM Nash parts from Flowserve offer guaranteed dimensional accuracy and material certification. Aftermarket parts from reputable suppliers can be cost-effective for standard components like O-rings and gaskets. For precision components such as impellers, port cones, and mechanical seal assemblies, OEM- or OEM-equivalent-certified parts are strongly preferred.
What causes cavitation in a Nash* liquid ring vacuum pump?
Cavitation occurs when the sealant water temperature is too high relative to the vacuum level, causing the water to flash to vapor inside the pump. This is the most common cause of impeller erosion and casing pitting in Nash pumps. Maintaining sealant water temperature below 25 degrees C (77 degrees F) at the pump inlet significantly reduces cavitation risk.
Conclusion
A Nash liquid ring vacuum pump rebuild is a cost-effective way to restore your equipment to full performance without the capital expense of replacement. When done correctly, with proper documentation, precision reassembly, and thorough performance verification, a rebuilt Nash pump can deliver another 5 to 10 years of reliable service.
The key to a successful rebuild is systematic work, the right tools, correct parts, and attention to detail at every step. Never skip clearance checks or alignment verification, and always test performance after reassembly.For facilities that prefer to work with experienced professionals, Airvac Technical Services provides expert Nash liquid ring vacuum pump rebuild and overhaul services. Their team works with Nash CL, SC, and 2BE series pumps across a wide range of industries and delivers rebuilt pumps that meet or exceed OEM performance standards.